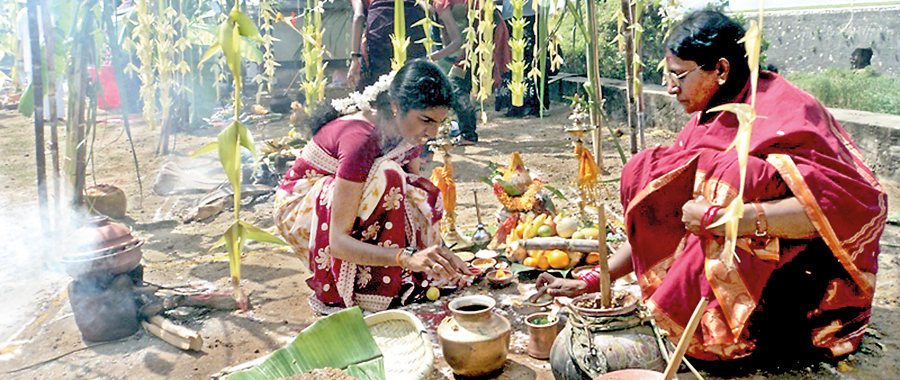
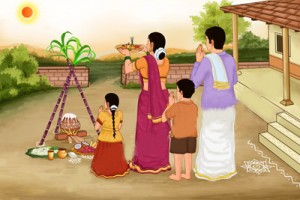
Pongal is a harvest festival which is celebrated in Tamil Nadu. Being a harvest festival it is also regarded s a festival of thanksgiving. For a farmer the time of harvest is a time of celebration because all his toil and hardwork finally reaps results. Since the farmer depends on the cattle, the monsoons and the sun, it is during this period that he shows his gratitude to the monsoon and the sun god. Pongal is celebrated during the period starting from mid December to mid January. Basically a four day celebration but each day during this period is associated with a specific duty or activity and each day has a special name for it as well. The celebration of this festival starts the beginning of prosperity, peace and happiness. The entire family gathers together to enjoy this festival. From decoration of the house to the preparation of various Pongal dishes, the family does it together. The preparation for this festival starts early and the first task of the day is the making of kolam. Kolam is a design similar to rangoli but done with rice flour on the floor outside the house. Along with it we also find a lump of cowdung which holds a pumpkin flower signifying fertility and offering of love to the deity.
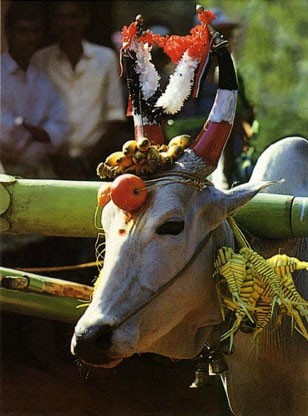
The first day of this festival is called as Bhogi Pongal and is usually celebrated in the honor of Lord Indra who is the ruler of the clouds that gives rains according to the Hindu mythology. This day is usually meant for domestic activities and spending time with family. The second day is termed as Surya Pongal where prayers are offered to the sun god. It is the most important day of this festive period. The third day is termed as the Mattu Pongal and is the day for the cows. During this day the cows are washed and cleaned and the horns painted. Kanu Pongal which is the fourth part of this festival is celebrated by the sisters for the wellbeing of their brothers. Kanu Pongal is similar to festivals like raksha bandan celebrated in north India.
Pongal can be traced back to the Sangam Age which existed between 200BC to 300AD. According to Sanskrit Puranas, Pongal is related to the Dravidian festival of harvest however historians believe that this festival was celebrated during the Sangam Age. There are a lot of legends as well associated with his festival. One of the famous tales associated with this festival is related to Lord Shiva and Lord Indra. According to the first tale once Shiva had ordered his bull to inform the mortals of the earth to have an oil massage and bath everyday and to eat only once a month. However the bull informed the wrong message to eat daily and bath once a month. This angered Shiva who cursed and banished his bull to earth and help the people out here to produce food and this explains the connection of cattle with this festival.
While pongal is being celebrated in Tamil Nadu, similar harvest festivals are also being celebrated in other states of India as well. In states such as Uttar Pradesh, Maharashtra, and Gujarat pongal is celebrated but with a different name known as Makar Sankranti. In states of Gujarat and Maharashtra, the major activity we find people doing is flying kites. The sky is full of colourful kites of various sizes and shapes. In Gujarat an international kite festival is organized during this period with millions and millions of people coming together to enjoy the festival by flying kites and eating delicious sweets and various dishes. In the state of Uttar Pradesh, the most important ritual which is and should be followed by the locals is to have a dip in the river. This ritual is mandatory because according to a popular belief if a person does not have a dip, he is sure to be born as a donkey in his next birth.
Since pongal is a harvest festival one can surely expect tasty dishes being made during this time of the year. Recipes of some of the famous dishes is given below so that you can give it a try at home
Rava Pongal
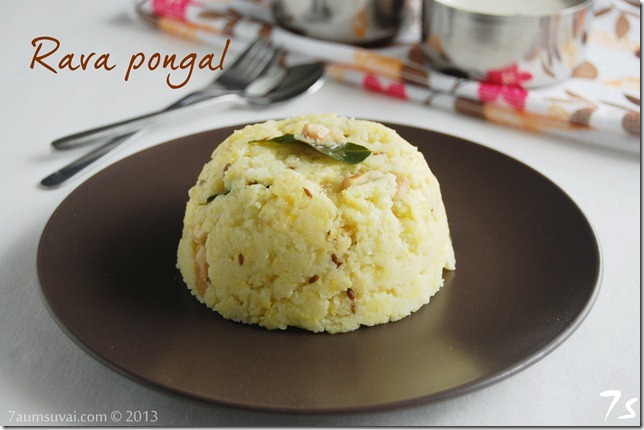
Directions
- Fry 1 cup of Rava without oil in a pan till it’s really hot
- Fry 1 tsp of black pepper and 1 tsp of cumin seeds in ghee and then make a powder of them
- Then on a separate pan fry cashewnut with curry leaves and ginger
- Now cook ½ cup moong dal with 1 cup of water in a pressure cooker. When cooked transfer the content on a pan and add water to it.
- Add salt and boil
- To this add the Rava slowly and stir continuously
- As the Rava cooks add small quantities of ghee.
- Now to end this dish add to the Rava the pepper and cumin seed mix and the cashewnut, curry leaves and ginger mix.
- The dish is ready to be served with green chutney.
Sweet Pongal
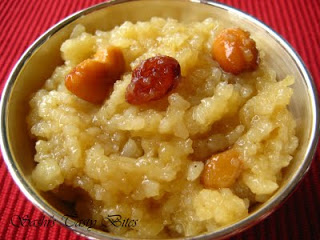
Directions
- Cook rice and roasted green gram dal with 2 ½ cups of water and 1 cup of milk.
- Dissolve 3 cups of jagery powder in ¾ cups of water and heat till the jagery melts.
- Now strain the liquid jagery to remove the dirt.
- Heat the liquid again till it becomes slightly thick and then add the cooked rice and dal.
- Now fry cashew nuts and raisins in 4 tablespoons of ghee.
- Add cloves, saffron and nutmeg, mix well and serve hot.
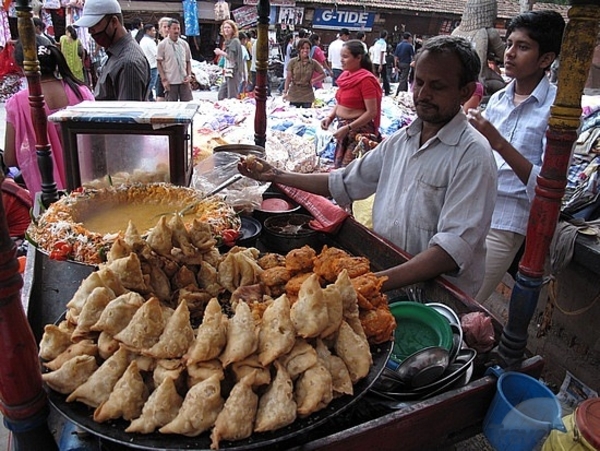
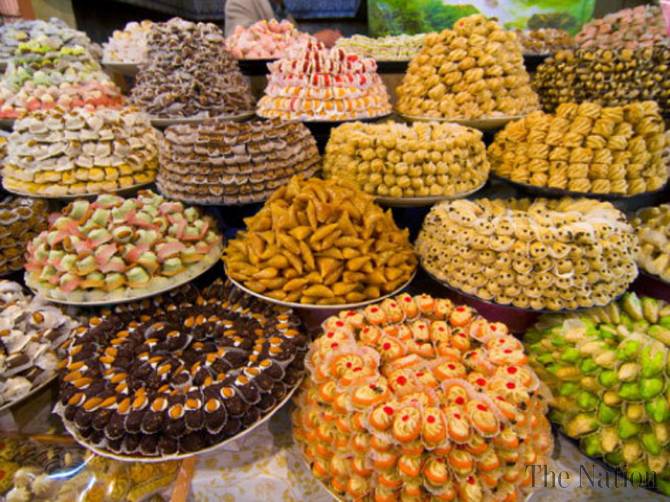
The festival of pongal is dear to the farmers as it marks the end of the harvest festival. The markets are filled with the new stock of grains, spices and other food items.