“I think careful cooking is love, don’t you? The loveliest thing you can cook for someone who’s close to you is about as nice a valentine as you can give “
-Julia Child

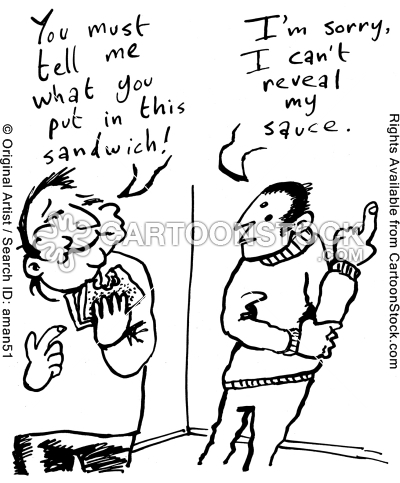
The age old saying, ‘The way to a man’s heart is through his stomach’ has proved to be true time and again. I don’t really know what it is between a man and his food, and the maker of his food. But nevertheless, the equation always works!
Be it a birthday or Valentine’s Day dinner/ lunch or simply, one making up after a teeny tiny fight – cooking a lovesome meal is the right way to do it. Now, imagine your man, after a hard day’s work, coming home to a surprise candle lit dinner – all planned, set and cooked by his better half. Wouldn’t he feel elated? I know my man would. Show a man you love and he will return it double. Yes, men are such adorable creatures.
The small things matter a lot. Be it a simple Cheesy Garlic Bread or a spicy Schezwan Paneer or the healthy alternative of a Mexican Omelette or plain old Chocolate Brownies – he will gobble it up like it is the best thing he has ever tasted.
Men are simple. Men are easy to please. And men definitely know and love their food. So, for all the damsels out there, here is an easy step- by- step romantic dinner to ease your way into his heart.
~~~~~~~
Menu
Drinks
ü Alcohol of your choice
ü Sweet Lime Soda
Starter
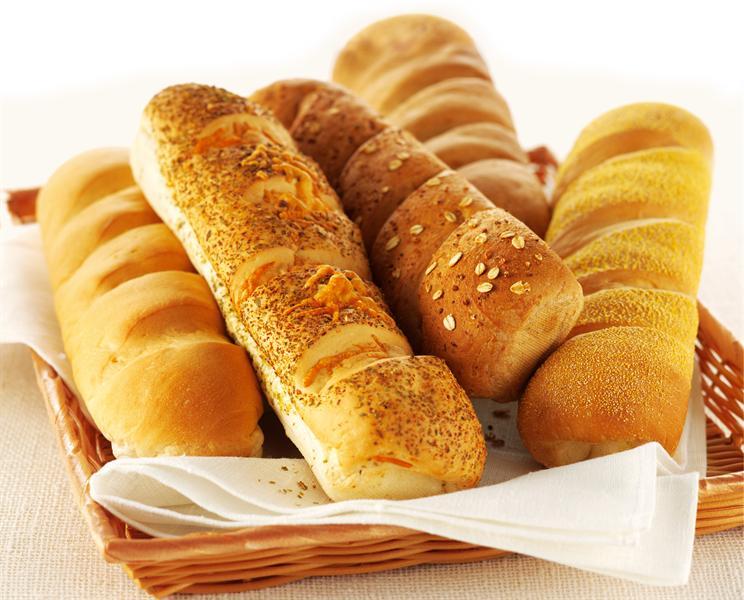
ü Italian Bruschetta
Main Course
ü Roasted Chicken with Lemon, Garlic and Thyme
Dessert
ü Red Velvet Cup Cakes with Cream Cheese frosting
~~~~~~~
Drinks
As far as alcohol is concerned, feel free to choose whatever you two like.
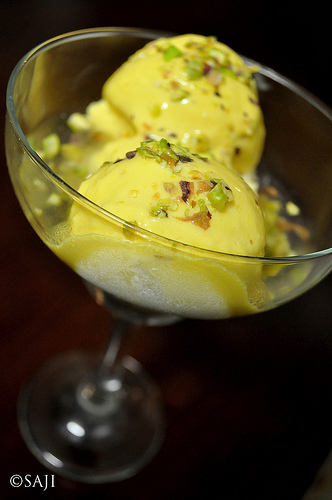
Sweet Lime Soda
Total Time- 5 minutes
Serving – 4 glasses
Ingredients – 1 cup lime juice (that has been refrigerated), 1/3 cup powdered sugar(Splenda can be used) , 3 cups club soda, crushed ice, mint leaf (for garnish, optional)
Directions – Mix lime juice and sugar together till the sugar dissolves. Add the club soda and stir lightly just to mix. Place the crushed ice in 4 glasses and pour the soda over it. Garnish with mint leaves and serve at once.
Starter
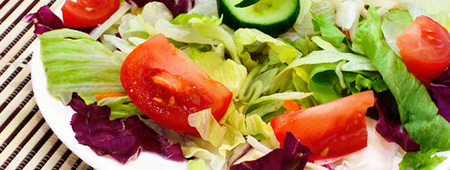
Italian Bruschetta
Total Time – 6 minutes
Serving – 2
Ingredients – 4 baguette or crusty bread slices, 2 garlic cloves (peeled), 2 tomatoes (cored and chopped), salt (to season), 8 basil leaves (torn or chopped), 1 or 2 tbsp extra virgin olive oil
Directions – Place the bread on a baking tray and toast both sides under the grill until golden brown. While the bread is still warm, rub one side of each piece of toast with a garlic clove, top with chopped tomatoes, a little salt and fresh basil. Drizzle olive oil over the top and serve.
Main Course
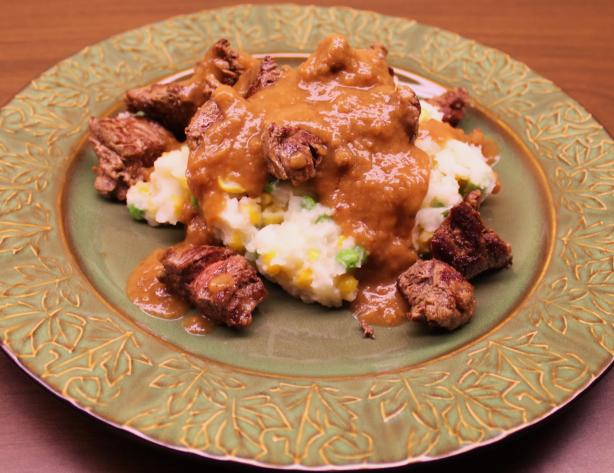
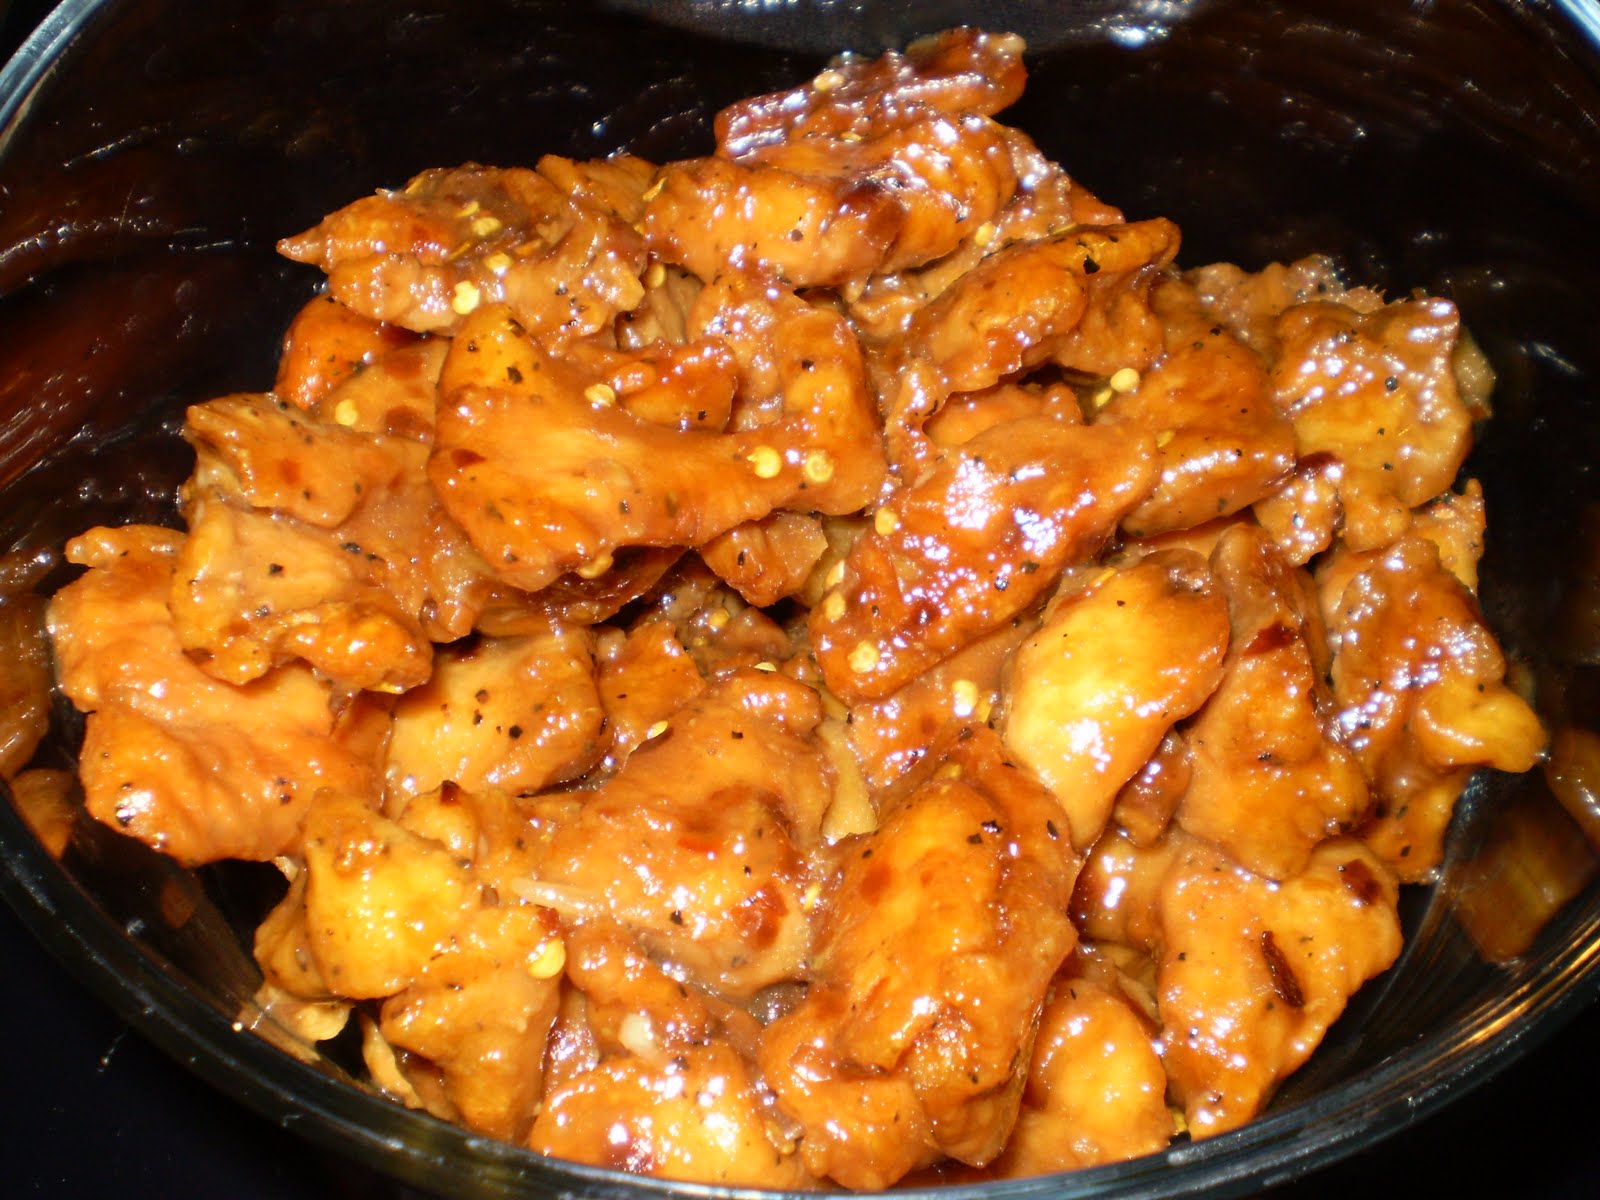
Roasted Chicken with Lemon, Garlic and Thyme
Total Time – 1 hour 45 minutes
Serving – 6
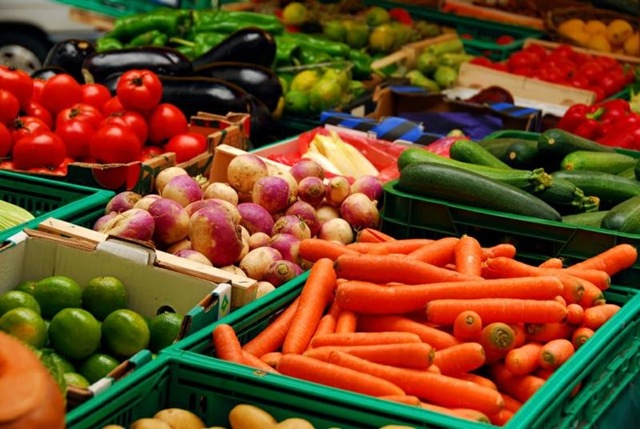
Ingredients – 1 (6 pound) roasting chicken, 4 tbsp unsalted butter (softened), 3 tbsp minced fresh thyme (plus 1 handful for stuffing), 4 cloves garlic (chopped), 2 tsp fresh lemon zest, Salt, freshly ground pepper, 1 lemon (quartered), 1 onion (coarsely chopped), 3 celery stalks, 3 carrots (unpeeled cut into thirds), 1 onion (cut into quarters), 1 cup low-sodium chicken broth, 2 tsp all- purpose flour
Directions – Preheat the oven to 450 degrees F. Rinse the chicken and pat it dry.
In a small bowl, make a compound butter by combining the softened butter, minced thyme, garlic cloves, lemon zest, salt and pepper.
Season the cavity of the chicken generously with salt, and pepper. Stuff the cavity with the lemon quarters, a handful of fresh thyme leaves, and the quarterd onion. Place the carrot, celery and onion in the bottom of a roasting pan and place the chicken on top of the vegetables. Cross the legs and tie with kitchen twine.
Gently lift the skin away from the chicken and spread 2 tbsp of the softened butter mixture underneath the skin, distributing it evenly. Spread the remaining butter over the entire surface of the chicken and season generously with salt, and pepper.
Place the chicken in the oven and roast for 20 minutes. Reduce the oven temperature to 375 degrees F and roast the chicken for about 45 minutes or until a meat thermometer inserted into the thickest part of the inner thigh, not touching the bone registers 160 to 165 degrees F. transfer the chicken and vegetables to a cutting board to rest for about 15 minutes. Tent the chicken with aluminium foil to keep warm.
Pour the pan juices into a large glass measuring cup. Spoon the fat off the top. Add the chicken broth to the roasting pan and place over high heat. Bring to boil, scraping up any browned bits. Return the pan juices to the pan. Whisk the flour into the broth mixture and bring to a boil until slightly thickened, for about 2 minutes. Season the sauce to taste with salt and pepper. Serve alongside the roast chicken.
Dessert
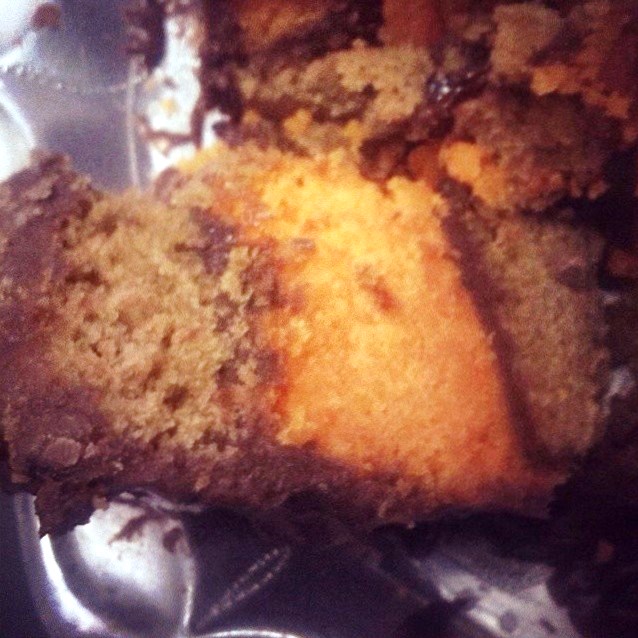
Red Velvet Cup Cakes with Cream Cheese frosting
Total Time – 40 minutes
Serving – 24 frosted cup cakes
Ingredients –
For the cake: 2 ½ cups all-purpose flour, 1 ½ cups sugar, 1 tsp baking soda, 1 tsp salt, 1 tsp cocoa powder, 1 ½ cup vegetable oil, 1 cup buttermilk (room temperature), 2 tbsp red food colouring, 1 t sp white distilled vinegar, 1 tsp vanilla extract
For the frosting: 1 pound cream cheese (softened), 2 sticks butter (softened), 1 tsp vanilla extract, 4 cups sifted confectioners’ sugar, chopped pecans and fresh raspberries or strawberries(for garnish)
Directions –
For the cake: Preheat the oven to 350 degrees F. Line 2 (12 cup) muffin pans with cupcake papers. In a medium mixing bowl, sift together the flour, sugar, baking soda, salt and cocoa powder. In a large bowl gently beat together the oil, buttermilk, eggs, food coloring, vinegar and vanilla with a handheld electric mixer. Add the sifted dry ingredients to the wet ingredients and mix until smooth and thoroughly combined. Divide the batter evenly among the cupcake tins about 2/3 filled. Bake in oven for about 20 to 22 minutes, turning the pans once, half way through. Test the cupcakes with a toothpick for doneness. Remove from oven and cool completely before frosting.
For the frosting: In a large mixing bowl, beat the cream cheese, butter and vanilla together until smooth. Add the sugar and on low speed, beat until incorporated. Increase the speed to high and mix until very light and fluffy. Garnish with chopped pecans and a fresh raspberry or strawberry.

Recipe Courtesy: allrecipes.co.uk, foodnetwork.com
Image Courtesy: southernplate.com, thekenebunkkim.com, marhaba.com