A side dish is as important as the main dish.
Simple Sides add on to the value and taste of the star of the meal, that is, the mains. Without them, the mains might have lost a considerable amount of their zing.
Be it mashed potatoes, baked beans, dinner rolls, couscous, rice, bread, macaroni and cheese, salads, baked potatoes, French fries or soups – all are delicious sides and compliment wholeheartedly their respective main courses.
In a restaurant, the side is usually included with the combination meal, as for example when you order the Chicken Zinger Meal in KFC, you are served French Fries (the side) along with your Chicken Zinger Burger (the main).
While ordering a sumptuous Sizzler at, say, Peter Cat, the simple sautéed vegetables serve as your side dish.
Here are Eight Simple Sides for you:
(Enjoy!)
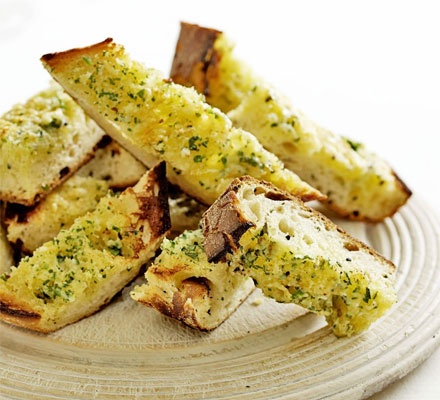
Garlic Bread Toasts
Time: 20 minutes
Serves: 12
Great side with: Broad bean bruschetta
Ingredients: 2 ciabatta loaves, 140g butter (softened), 4-6 garlic cloves (crushed), handful parsley (chopped), 2 tbsp finely grated parmesan
Directions: Slice the bread in half lengthwise. Toast the crust side for 2 minutes until really crispy. Mix together butter, garlic and parsley in a bowl. Spread over the cut bread halves. Sprinkle over the Parmesan. Just before serving place on a baking sheet, then cook under a hot grill for 5 minutes until toasty and lightly golden. Let it cool for 1 min before cutting into thick slices.
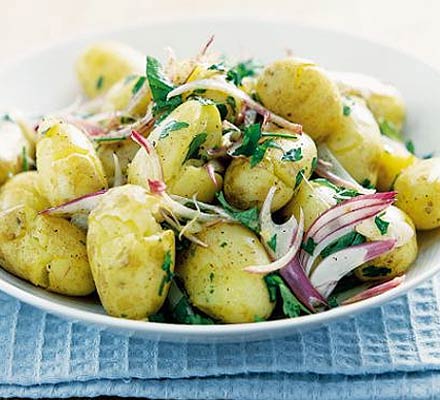
Cracked Potato Salad
Time: 15 minutes
Serves: 4
Great side with: Bbq
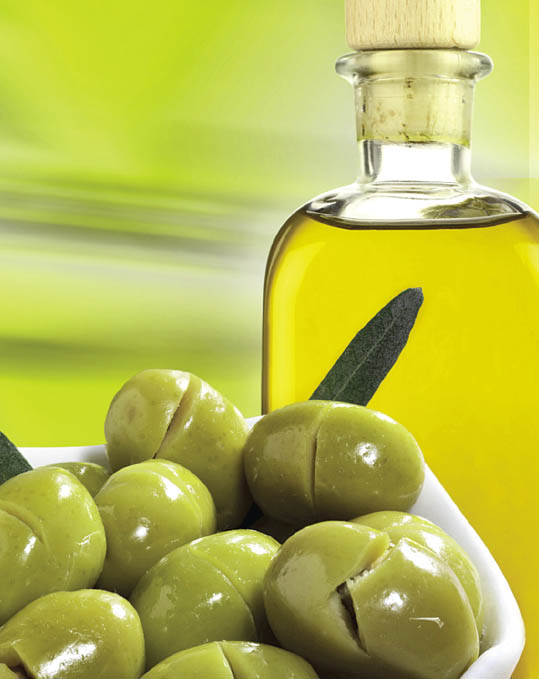
Ingredients: 750g small new potatoes, 4 tbsp white wine, 2 tbsp olive oil, a small sliced red onion, 3 tbsp roughly chopped parsley
Directions: Boil the new potatoes for 15-20 minutes then drain and return to the pan. Lightly bash each potato with a masher or fork so they are cracked but still whole. Return to the heat and pour in the white wine. Boil fiercely for 2-3 minutes until most of the wine has evaporated. Stir in the olive oil, small thinly sliced red onion and roughly chopped parsley. Season and toss together.
Sweet Potato Chips

Time: 30 minutes
Serves: 4
Great side with: Homemade burgers
Ingredients: 4 sweet potatoes (scrubbed and cut into large chips), 2 tbsp olive oil, 2 tbsp light soy sauce, freshly grated nutmeg
Directions: Heat oven to 200C.In a large bowl, toss the sweet potato chips with oil and soy sauce. Transfer to a shallow roasting tin and season with black pepper and nutmeg, if you like. Bake for 30-40 minutes, until crisp.
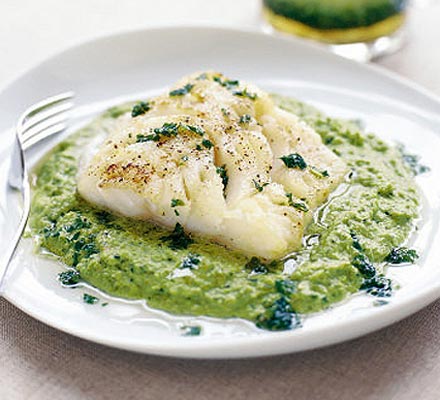
Pea Mash and Mint Vinaigrette
Time: 25 minutes
Serves: 4
Great side with: Fish
Ingredients:
4 spring onions, knob of butter, 1 head Little Gem lettuce (leaves shredded), 250g frozen peas, large bunch of mint, ½ glass white wine, 5-6 tbsp double cream
For the dressing- 3 tbsp white wine or cider vinegar, 100ml light olive oil
Directions: Shred the spring onions and soften in a pan with the butter. Add the lettuce leaves, peas, half the mint, white wine and a little salt and pepper. Cover and cook gently for 10 minutes.Stir in the cream, then purée until smooth. Return to a pan to keep warm.Finely chop remaining mint leaves. Add vinegar, then whisk in the oil in a steady trickle. Season.Cook the fish to your liking and serve on the pea mash with a trickle of mint vinaigrette.
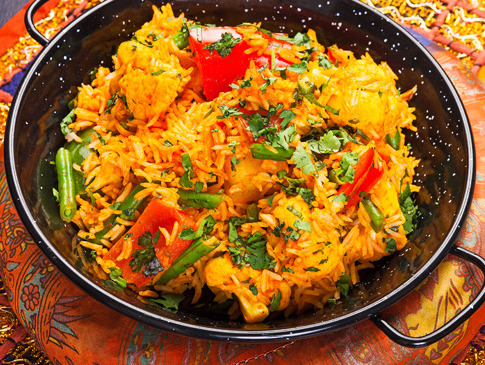
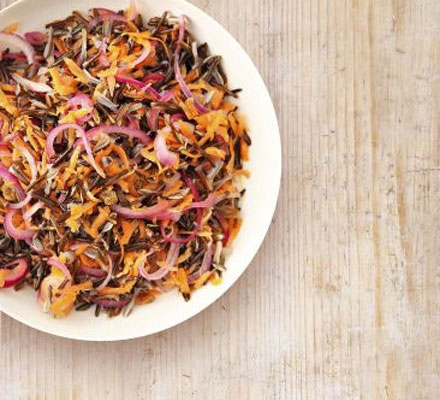
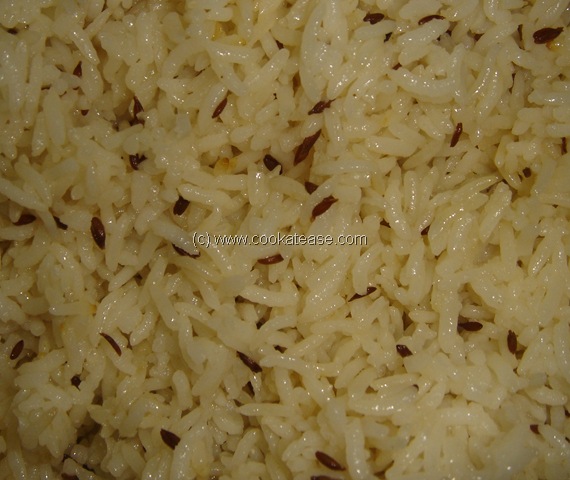
Wild Rice Salad
Time: 5 minutes
Serves: 5
Great side with: Spicy Stews
Ingredients: 250g pouch microwavable wild rice, 1 red onion (thinly sliced), small handful of sultanas, 3 carrots (grated), zest and juice 1 lemon, 1 tbsp honey
Directions: Heat rice according to the pack instructions. Put onion and sultanas in a bowl and pour on boiling water to cover. Leave to stand 1 min, then drain and stir in rice and carrot.Mix in the lemon zest and juice, honey and seasoning, and then serve.
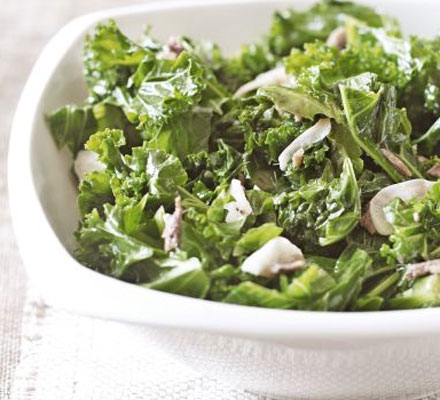
Sweet and Sour Kale with Garlic and Anchovy
Time: 10minutes
Serves: 4
Great side with: Roasted Lamb
Ingredients:400g kale (shredded), 4 tbsp olive oil, 4 garlic cloves (sliced), 2 anchovies (chopped), 1 tsp golden caster sugar, 1 tbsp red wine vinegar
Directions: Cook the kale in a large pan of boiling water for about 4 minutes until just tender. Drain, then place the empty pan back on the heat with the oil. Sizzle the garlic and anchovy, and then add the sugar and vinegar and bubble for a moment. Toss the kale back into the pan to reheat, and then tip everything into a side dish.
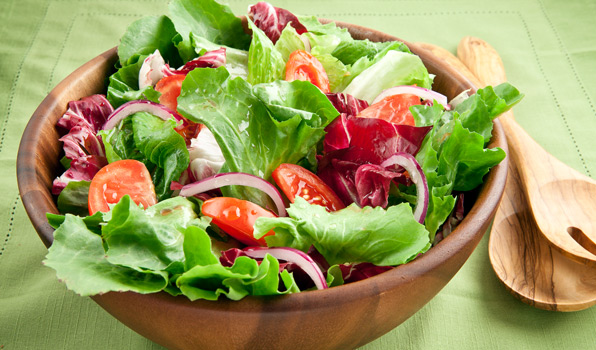
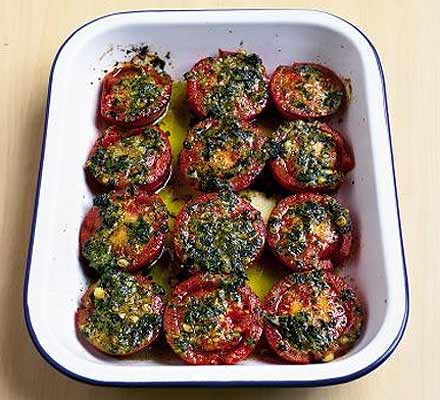
Roast Tomatoes with Pesto
Time: 20
Serves: 4
Great side with: Lemon Rubbed Salmon
Ingredients: 6 large ripe tomatoes, 50g fresh basil, 25g toasted pine nuts, 2 garlic cloves, 100ml olive oil, 25g freshly grated parmesan
Directions: Heat oven to 190 C. Halve the tomatoes and arrange them in a single layer, cut side up in a roasting tin.To make the pesto: put the basil, pine nuts and garlic in a food processor and whizz to a paste. With the motor running, drizzle in the oil. Transfer to a bowl, stir in the parmesan, then season to taste. Spoon about 2 tsp pesto over each tomato, and then roast for 20 minutes, until the tomatoes are tender. Serve with grilled lamb and a crisp green salad.
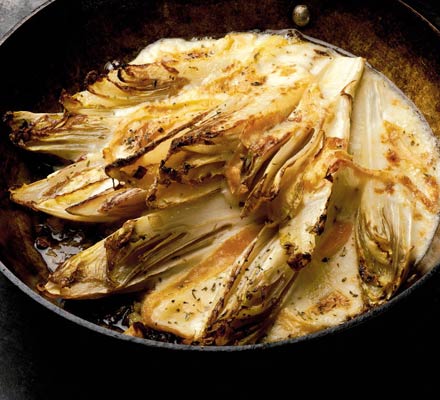
Wilted Chicory with Melted Taleggio Cheese

Time: 15 minutes
Serves: 2
Great side with: Pork Sausages
Ingredients: 2 heads white chicory, 2 tbsp olive oil, 1 small shallot (chopped), 100g taleggio cheese, pinch of dried oregano
Directions: Preheat the grill to high. Trim the chicory and cut lengthways into quarters. Heat the olive oil in a shallow pan over a moderate heat and soften the shallot for 2 minutes. Add the chicory quarters, cut side down, and cook for 3 minutes. Turn them over, cover the pan and cook for another 3 minutes, then season with salt and pepper.Slice the cheese, arrange the pieces over the chicory and sprinkle the oregano on top. Slide under the hot grill for a few minutes until the cheese is bubbling. Serve immediately.


![vegetable pulao-1_thumb[1]](http://www.cravebits.com/wp-content/uploads/2014/07/vegetable-pulao-1_thumb1.jpg)