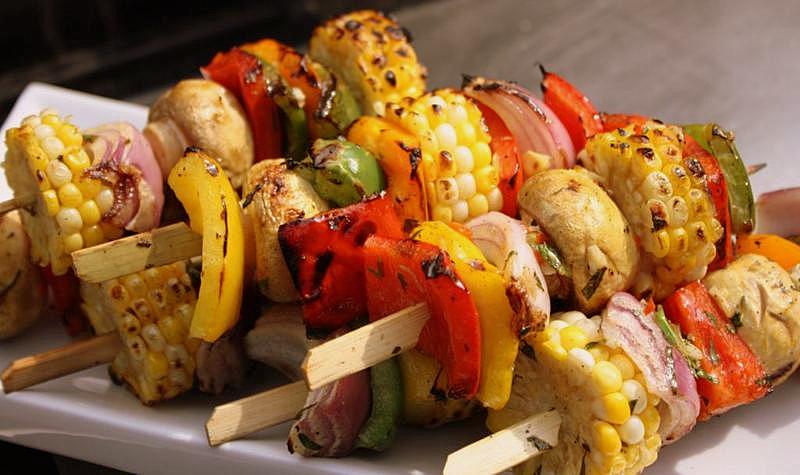
Tapioca is a starch extracted from ‘cassava’ roots. This plant is the native to the north region of Brazil but today it is cultivated worldwide. Tapioca is known for its nutritional value. It predominantly consists of carbohydrates and is low in saturated fat, protein and sodium. It has no significant essential vitamins or dietary minerals. It is also used in other purposes like tapioca roots can be used to manufacture biodegradable wastes and tapioca starch can be used to starching garments before ironing.
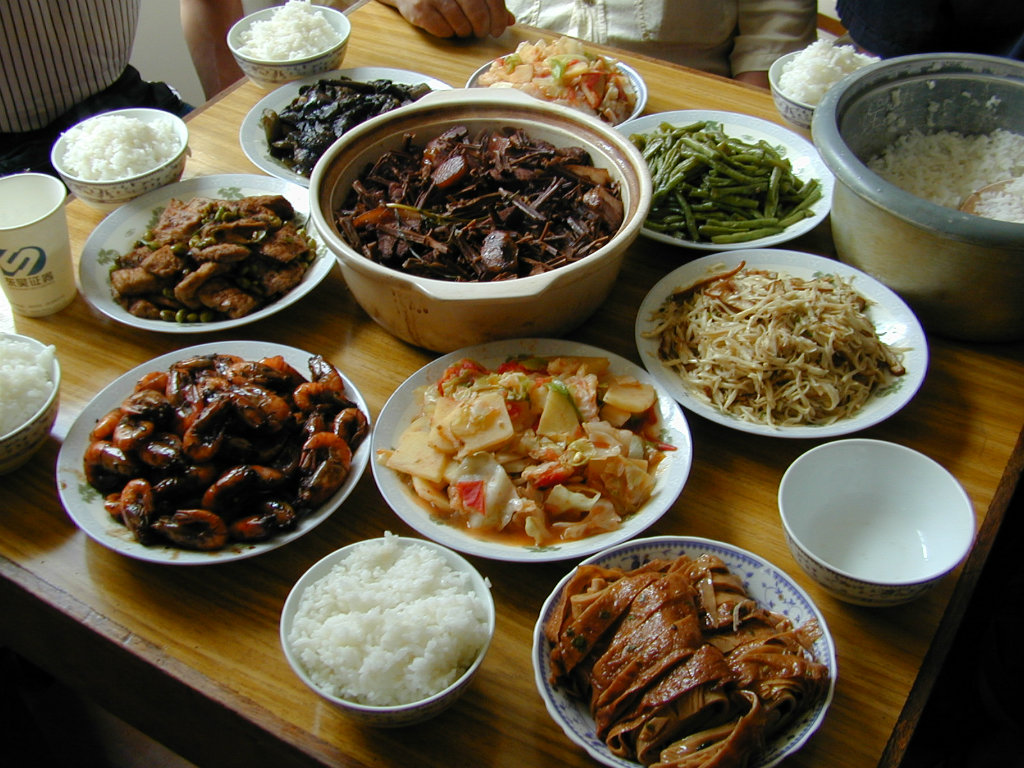
So here are some easy tapioca dishes that can be tried out in homes.
i) TAPIOCA PUDDING
Time: 35 min
Ingredients:
Tapioca- ½ cup
2% low fat milk- 3 cups (if pearls are soaked overnight, then use 2 ½ cups milk)
Salt- ¼ teaspoon
Sugar- ½ cup
Eggs- 2
Vanilla- ½ teaspoon
Preparation:
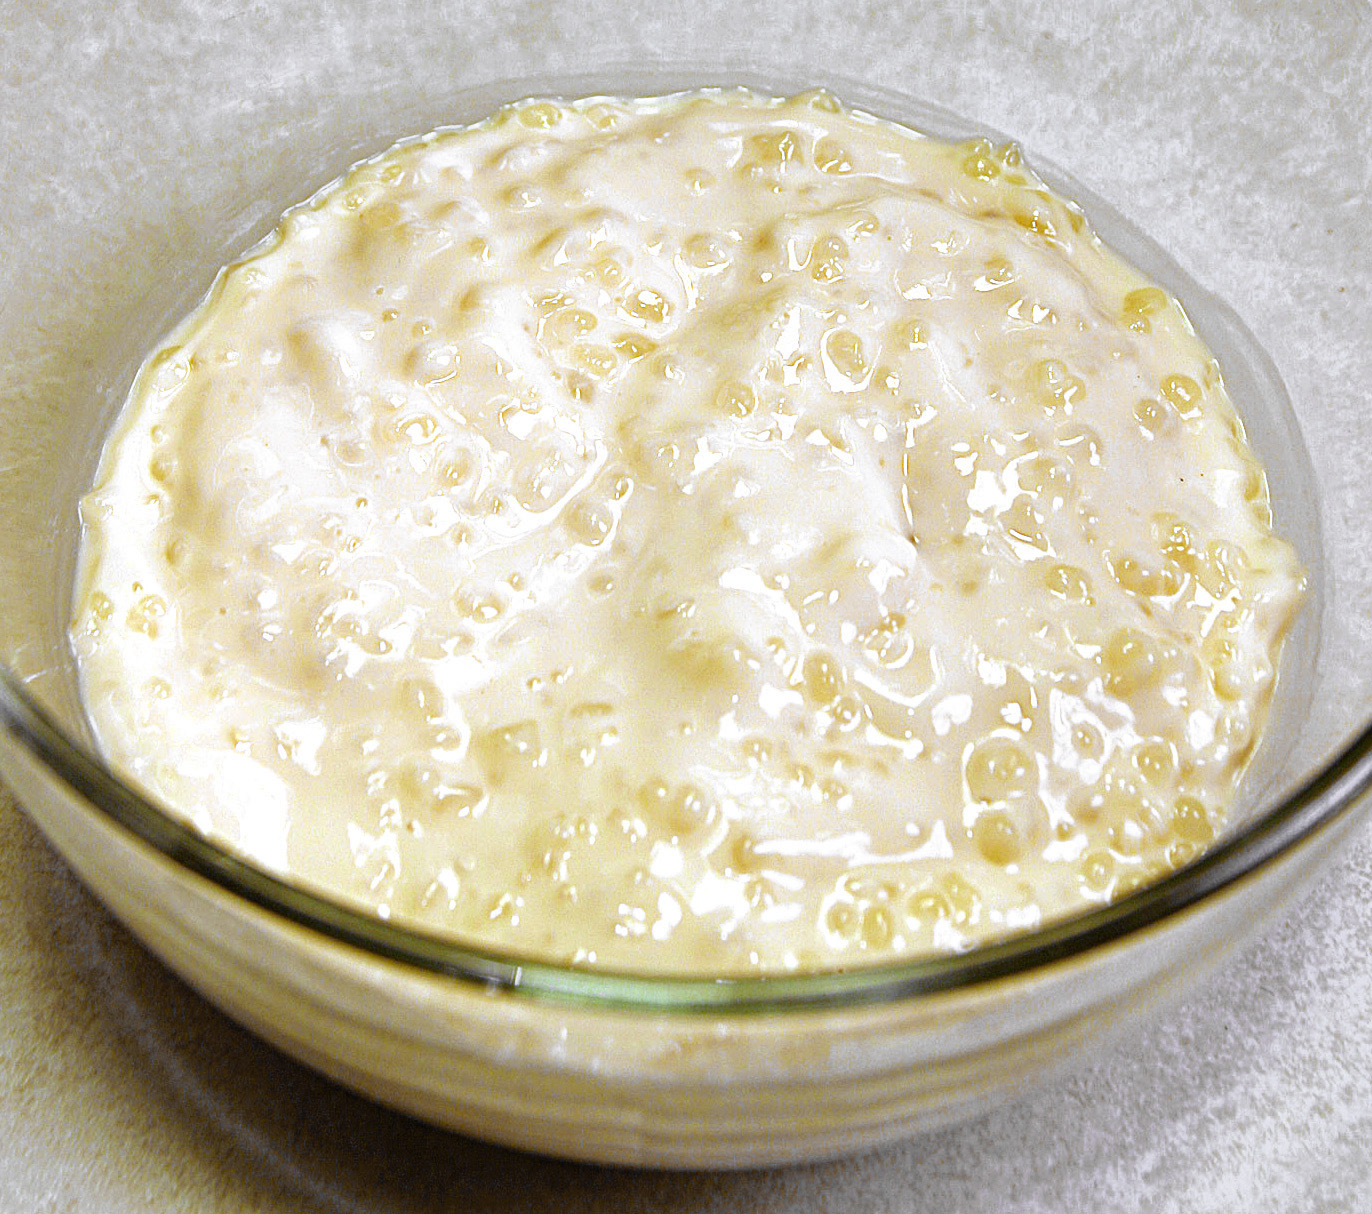
1) Soak tapioca pearls in water the night before to reduce some excess starch (hence less cooking time).
2) In a saucepan, mix the tapioca pearls, milk and salt. Stir it frequently on medium high heat until the mixture comes to a boil.
3) Now reduce the heat to a minimum and simmer 5 minutes. Add sugar to it gradually while stirring.
4) In another bowl, beat the two eggs. Add some tapioca mixture to the eggs and continue stirring, preventing the eggs from scrambling.
5) Now add the mixture to the tapioca and gently bring the mixture back to near boiling. Reduce the heat to minimum and simmer, stirring constantly, till the desired consistency is reached.( note that the pearls should be translucent and gelatinous in this stage)
6) Allow the tapioca mixture to cool before adding vanilla to it.
ii) BOILED TAPIOCA

Preparation time: 15 minutes
Ingredients:
Tapioca-1
Salt- to taste
Preparation:
1) Peel the skin of tapioca and wash it thoroughly. Then cut it into big pieces.
2) Take these tapioca pieces in a vessel and pour enough water so that the pieces are submerged.
3) Now add some salt to it and boil it.
4) Cook for about 10 min till the pieces are soft.
5) Drain the excess water.
6) To make it more flavorful, add mustard seeds and some curry leaves. Also sprinkle some freshly grated coconut on top.
7) Now serve it hot.
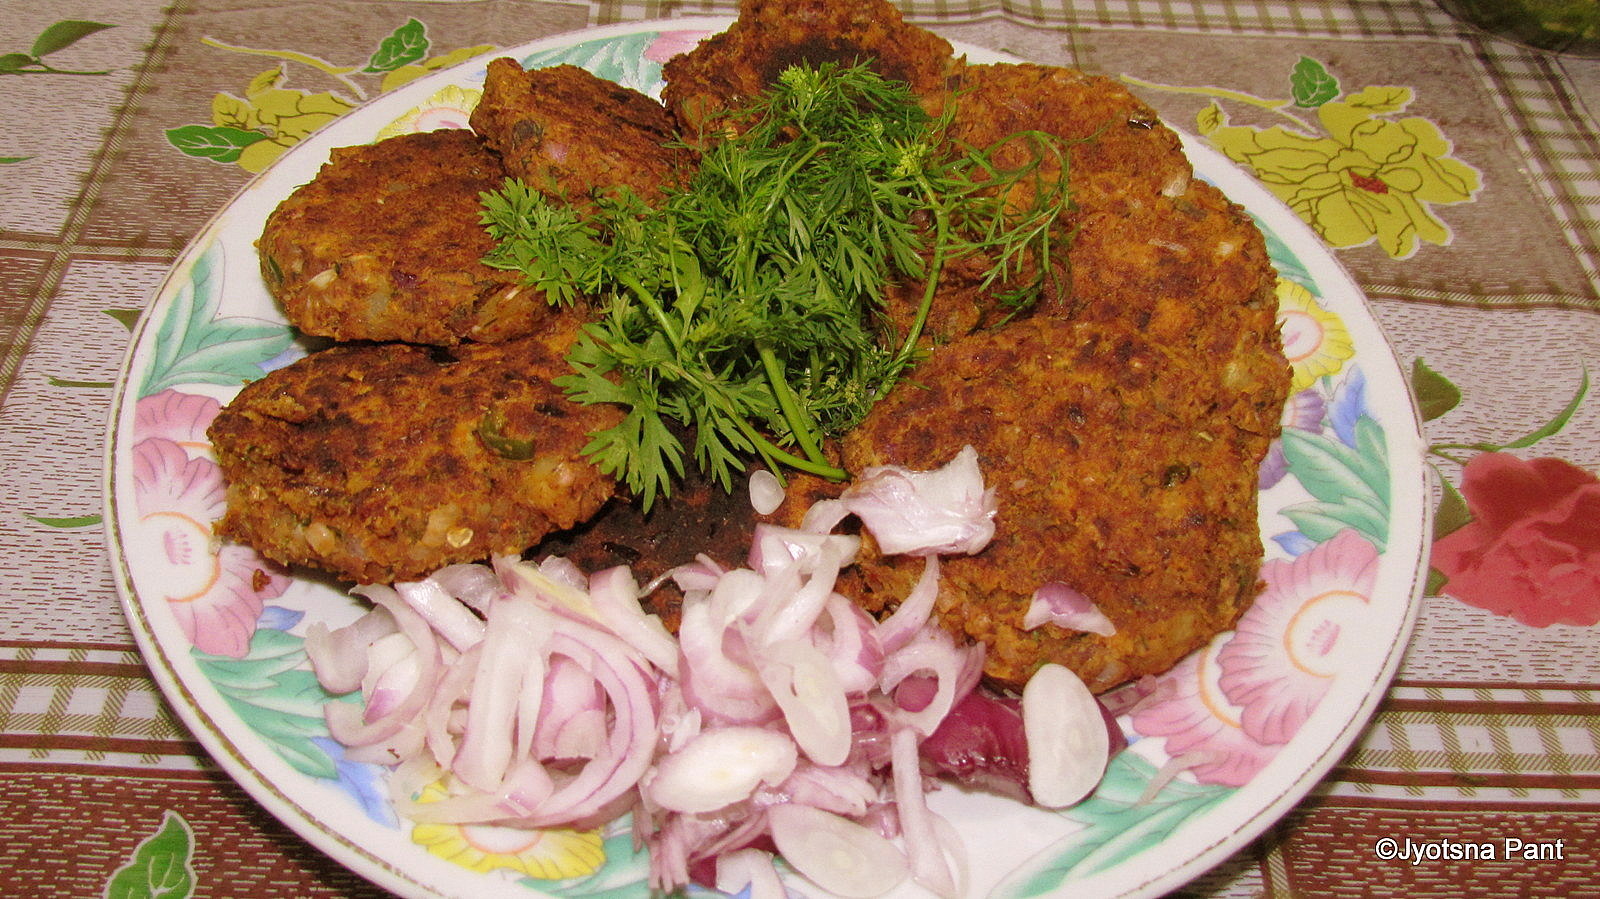
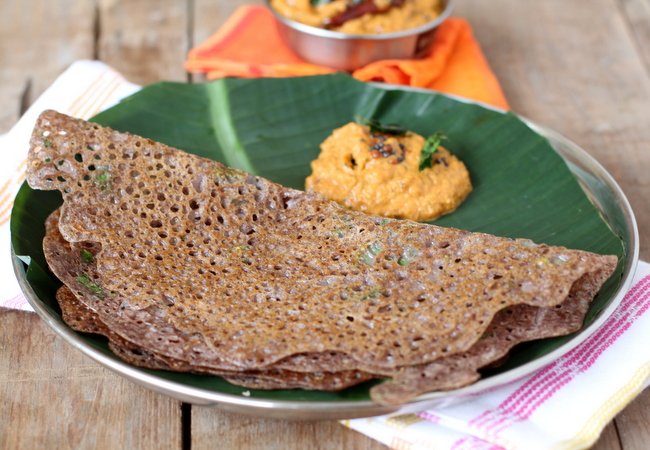
iii) TAPIOCA PUTTU
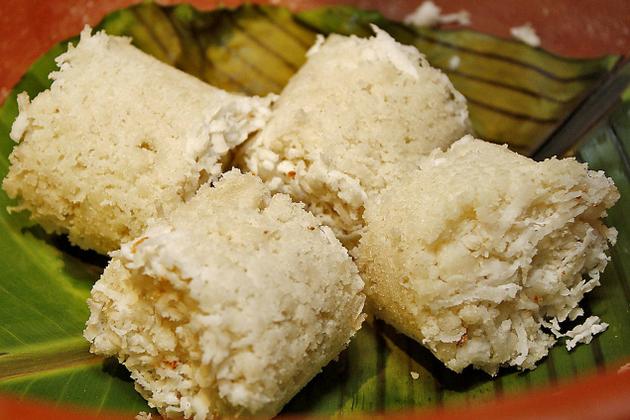
Preparation time: 20 min
Ingredients:
Tapioca flour- 1 cup
Grated coconut- 1 cup
Onion (big) – 1
Green chili- 3
Salt- to taste
Preparation:
1) Cut onion and green chili finely.
2) In a bowl, mix tapioca flour, green chili, coconut and onion.
3) Sprinkle water to it and mix it well. Now keep the mixture for about 15 min.
4) Steam it for 10 min.
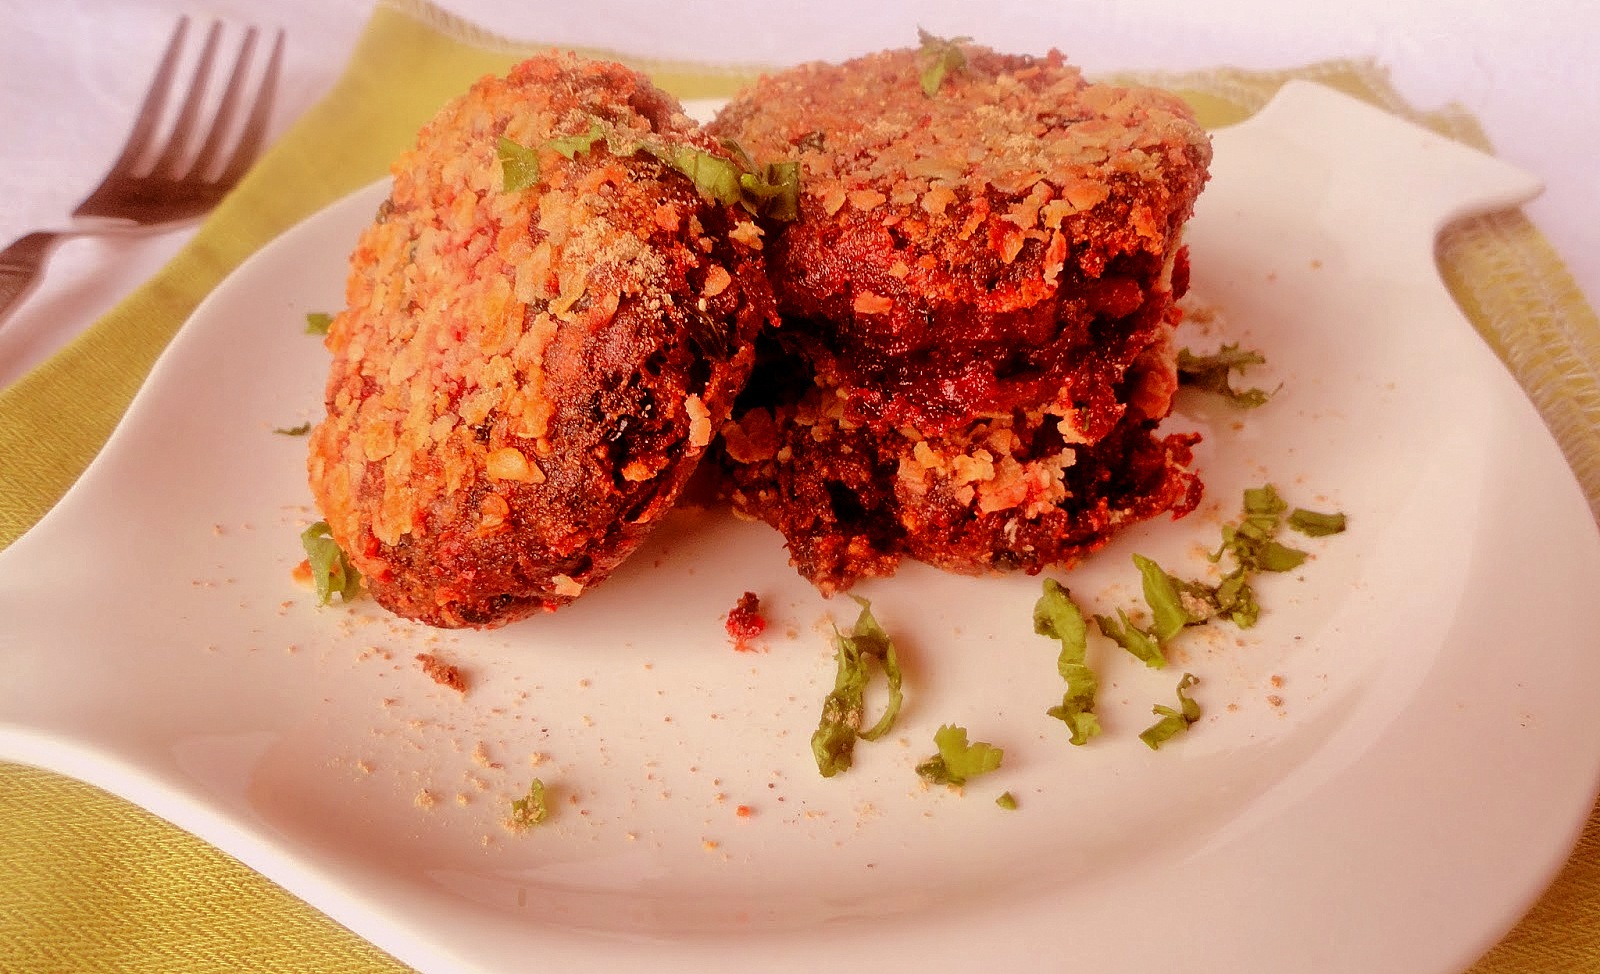
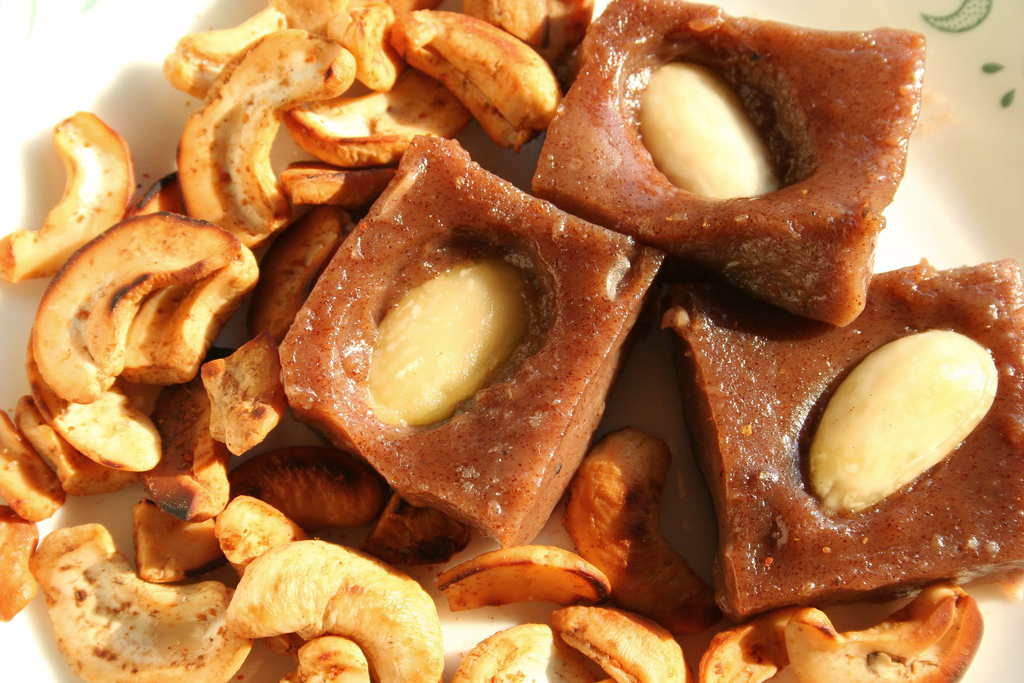
iv) TAPIOCA HALWA
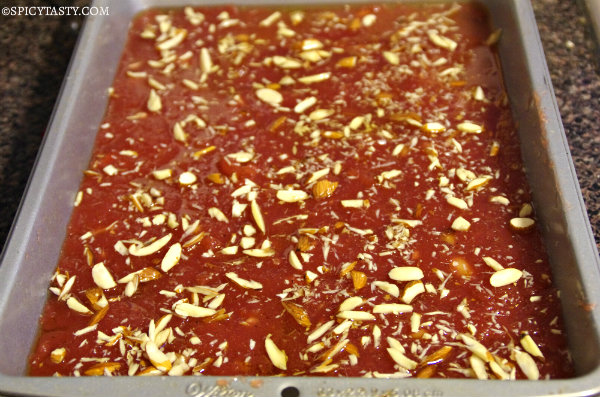
Preparation time: 30 min
Ingredients:
Tapioca- ¼ kilos
Grated coconut- ½ cup
Sugar- ¼ kilo
Ghee- 100 g
Cashew- 10
Raisins- 20
Kesari powder- a pinch
Cardamom powder- ¼ tsp
Preparation:
1) Remove the skin of tapioca.
2) Grind tapioca, coconut and sugar to a thick paste and transfer this content to a bowl.
3) Melt 2 tsp of ghee in a frying pan.
4) Add cashew and raisins to the ghee and fry it till it reaches a golden color. Now add it to tapioca.
5) Add kesari powder, cardamom powder and ghee to tapioca.
6) Stem the contents for about 15 min.
7) Cut it into pieces when cool. Keep the contents in a cool place.
v) TAPIOCA AVIYAL
Preparation time: 35 min
Ingredients:
Tapioca (cut into long thin pieces) – 1
Grated coconut- 1 cup
Shallots- 4
Jeera seeds- ½ tsp
Curd- 2 tbsp
Turmeric powder- ¼ tsp
Chili powder- 1 tsp
Curry leaves- a sprig
Coconut oil- 1 tsp
Salt- to taste
Preparation:
1) Cook tapioca by adding salt and water and until it is soft.
2) Drain excess water and keep it aside.
3) Grind coconut, jeera, shallots, turmeric powder and red chili powder into a paste.
4) Now add this paste to the tapioca pieces and mix well.
5) Reduce the heat and cook the tapioca for about 1 min, stirring frequently.
6) Add curry leaves, curd and cook until it is thick.
7) Garnish it with grated coconut and remove from heat.
8) Serve it hot.
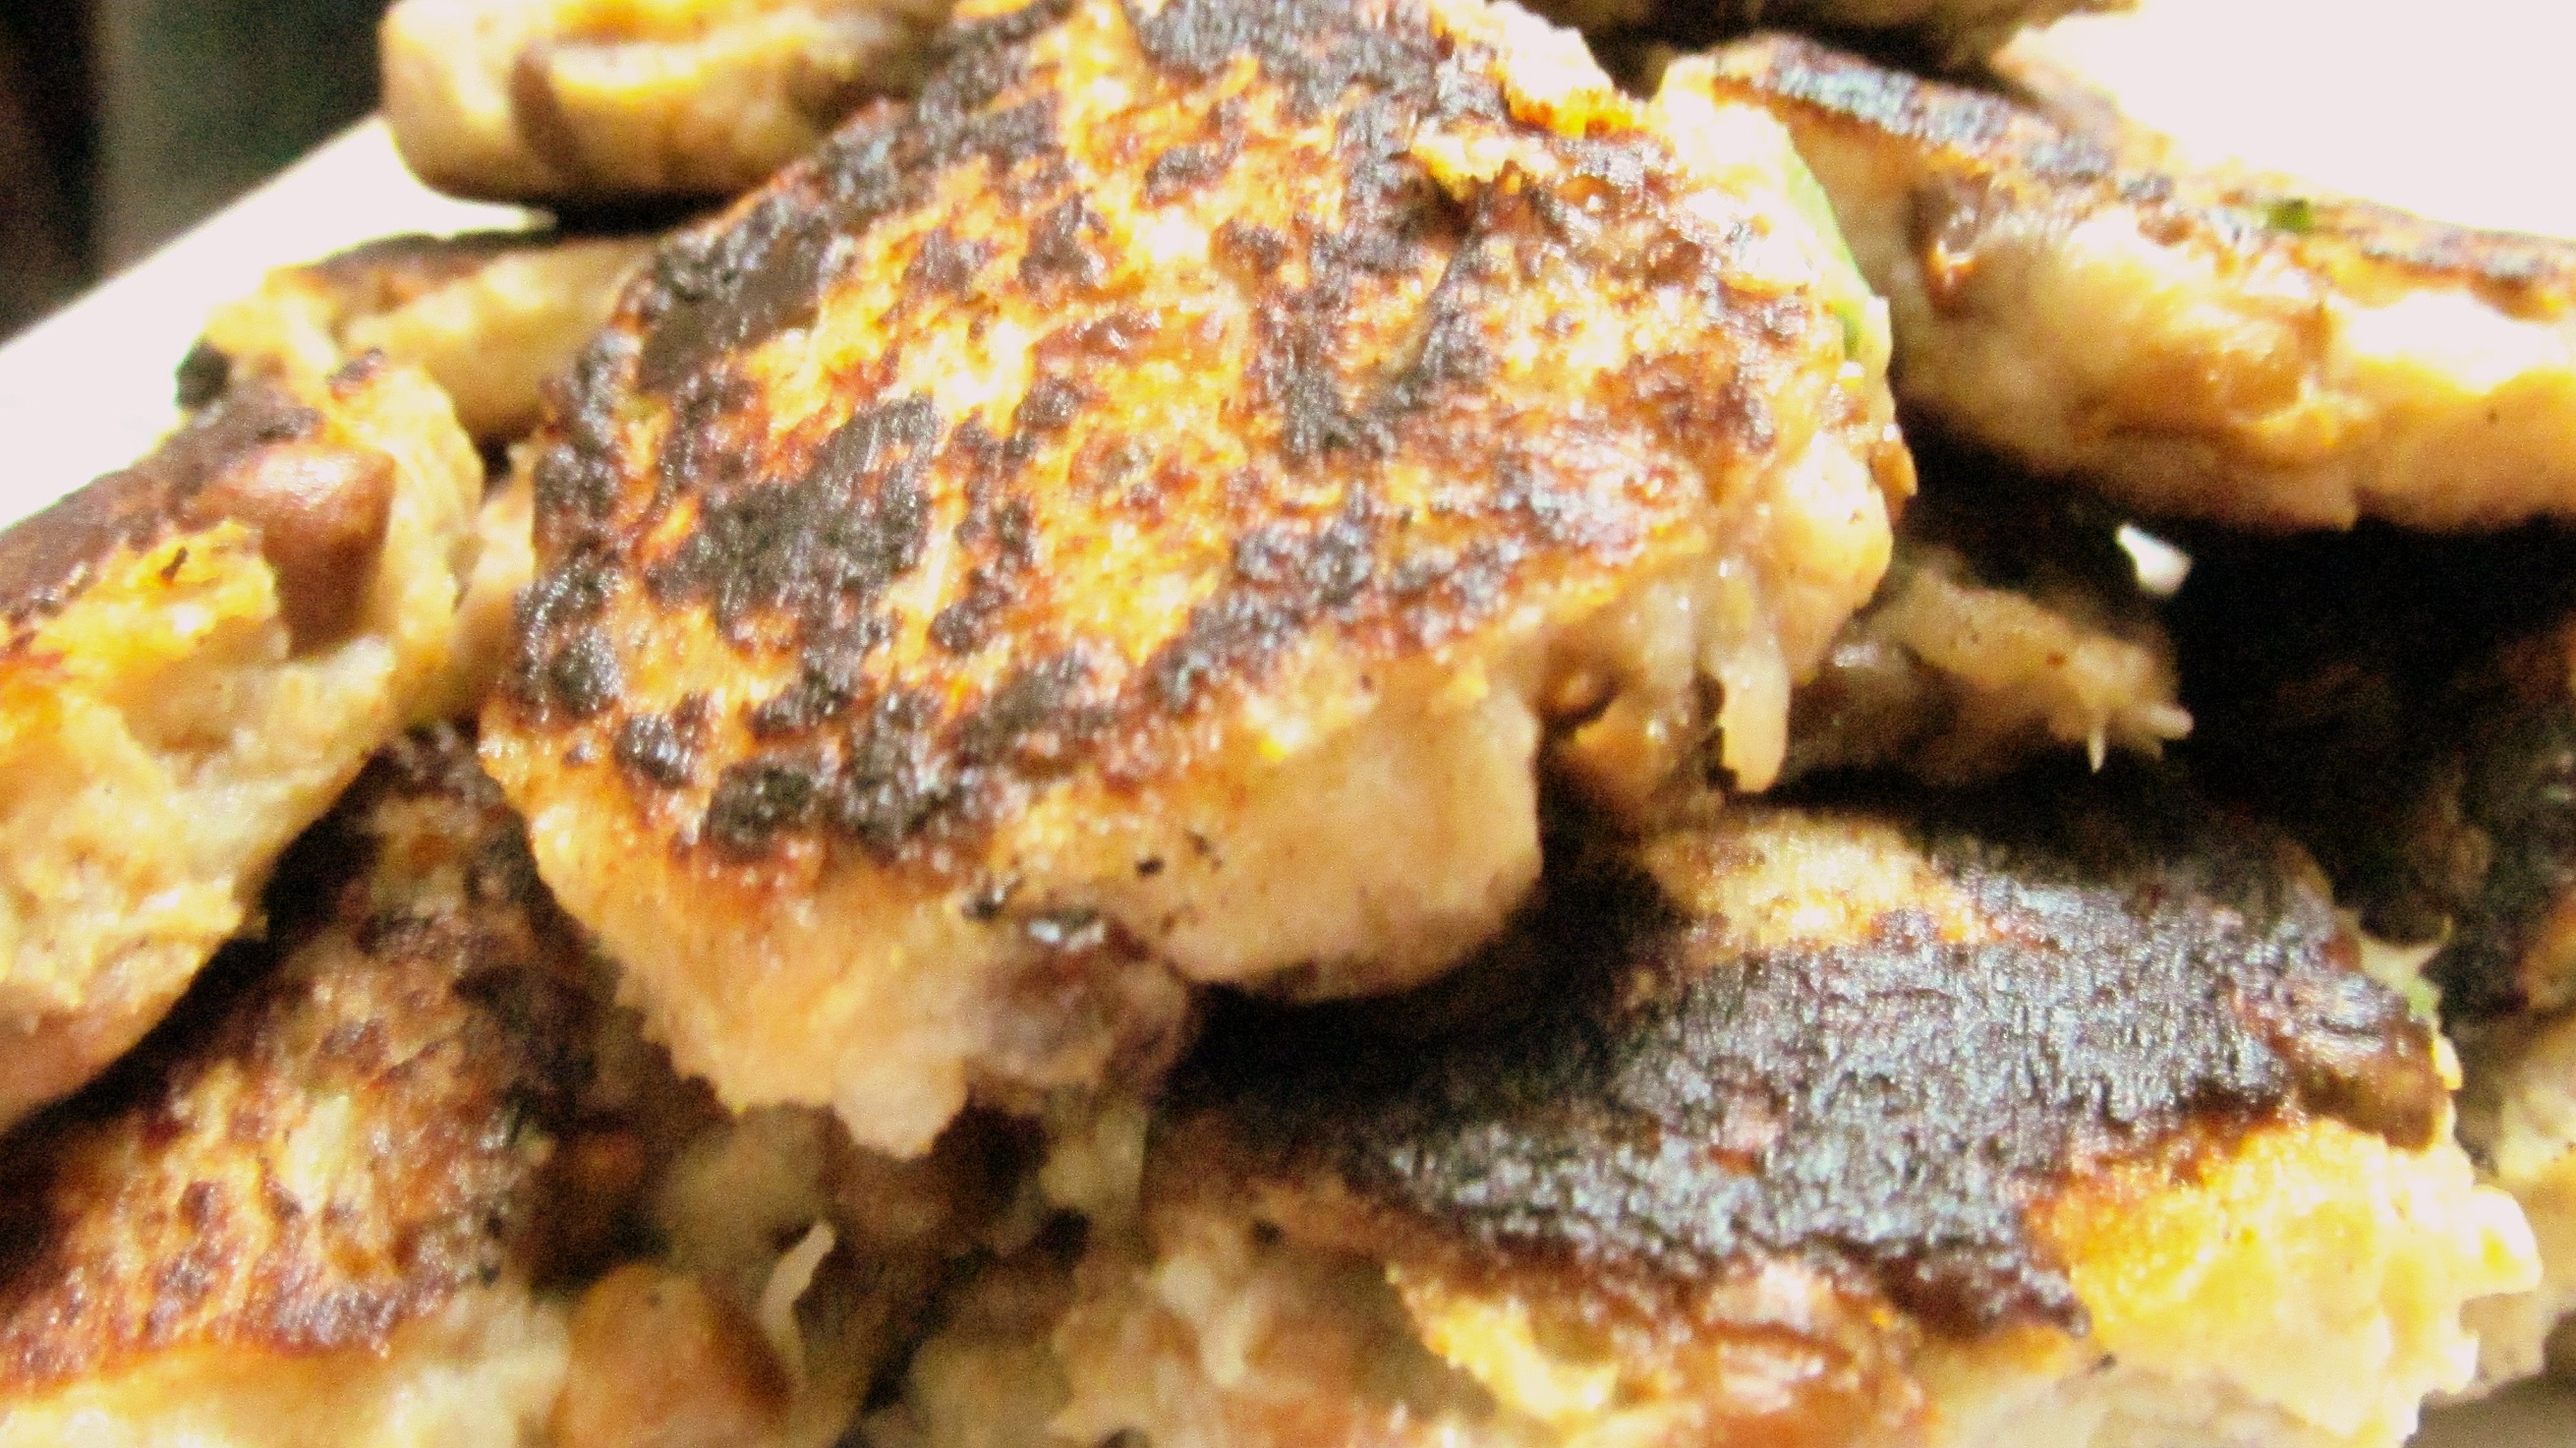
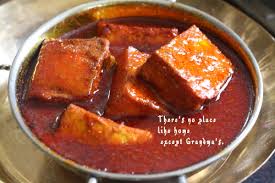
vi) TAPIOCA CURRY
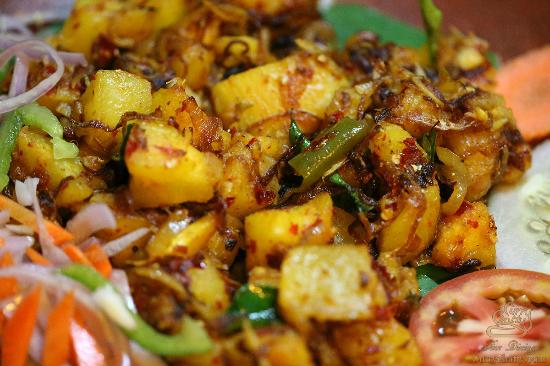
Preparation time: 20 min
Ingredients:
Tapioca- 1
Grated coconut- ¼ cup
Cumin- ¼ tsp
Garlic- 2 cloves
Curry leaves- a few
Red chili- 4
Turmeric powder- a pinch
Mustard- ½ tsp
Curry leaves- few
Urad dal- ½ tsp
Salt- to taste
Oil- as needed
Preparation:
1) Boil tapioca with salt and turmeric powder. Now peel of its skin and set it aside.
2) Grind coconut, cumin, garlic, red chili and curry leaves into a paste.
3) Heat oil in a frying pan and add mustard, curry leaves and urad dal to it.
4) When mustard splutters, add grated coconut to it and heat till a raw smell subsides.
5) Add tapioca to it and mix well.
6) Cook for few minutes and remove the pan from heat.
7) Garnish it with curry leaves and serve it hot.
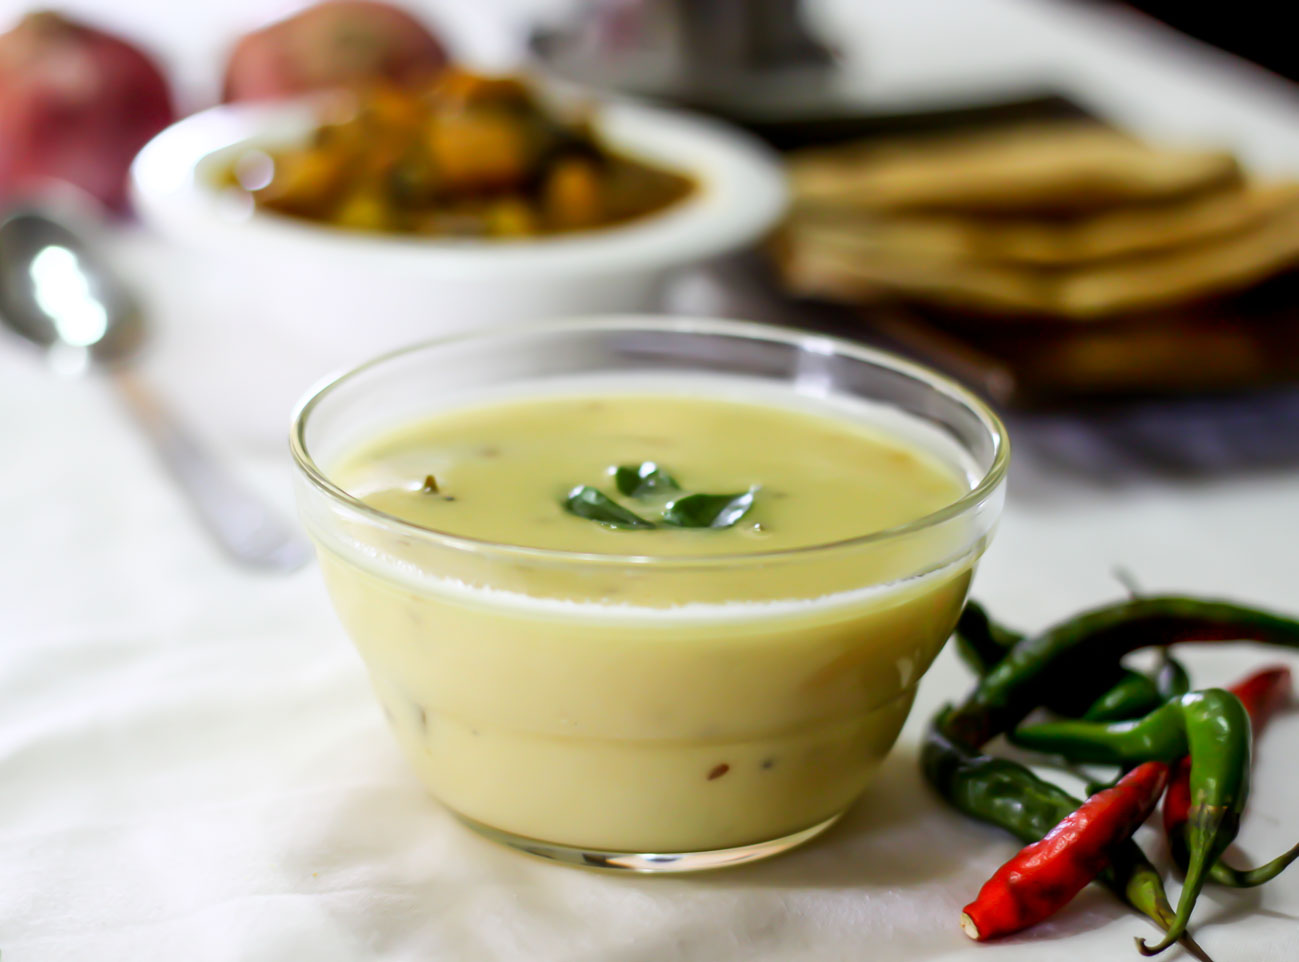
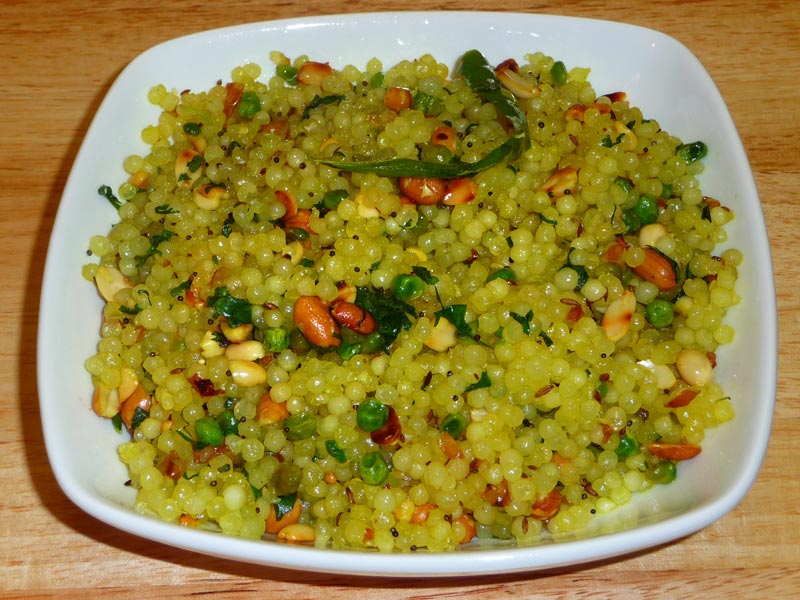
vii) TAPIOCA PEARLS IN COCONUT SAUCE
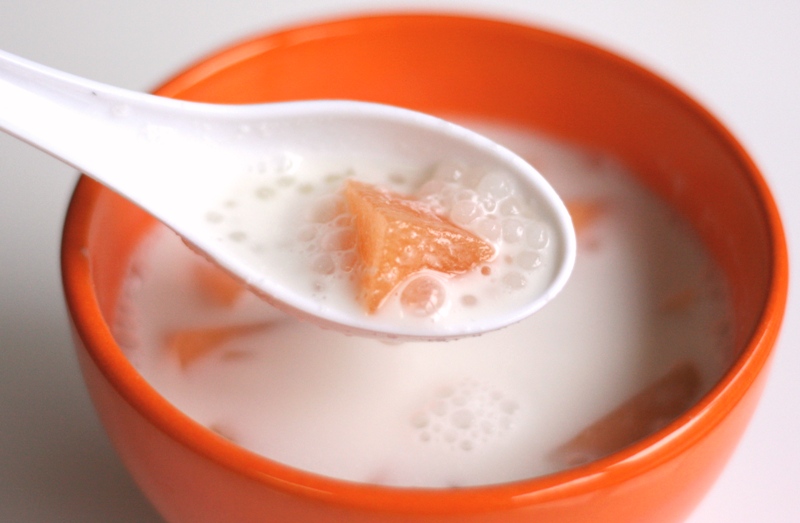
Preparation time: 20 min
Ingredients:
Tapioca pearls- 100 g
Sugar- 30 g
Salt- a pinch
Coconut milk- 150 g
Preparation:
1) Boil the tapioca pearls in water till it becomes translucent.
2) Drain off excess water.
3) Now add sugar to it and heat the contents to dissolve the sugar.
4) In a separate pan, warm the coconut milk with a pinch of salt.
5) Now add the tapioca pearls to the warm coconut milk.
6) Serve it hot.
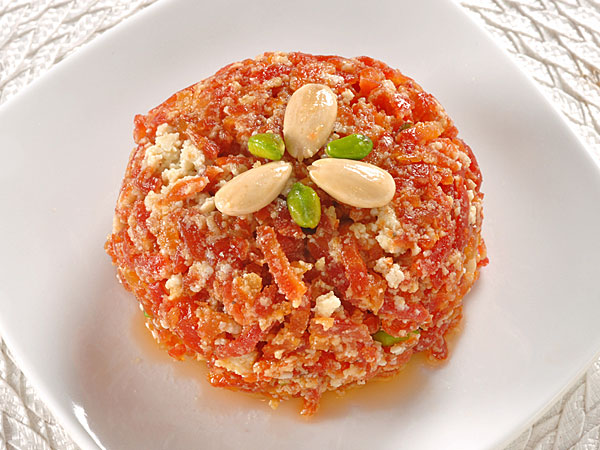
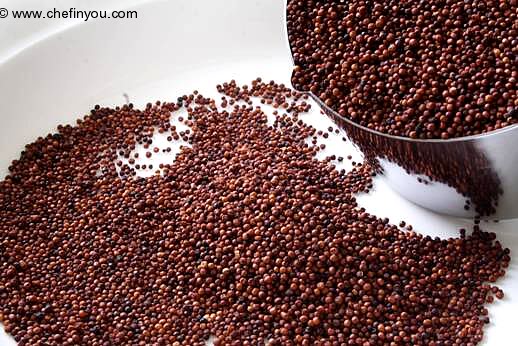
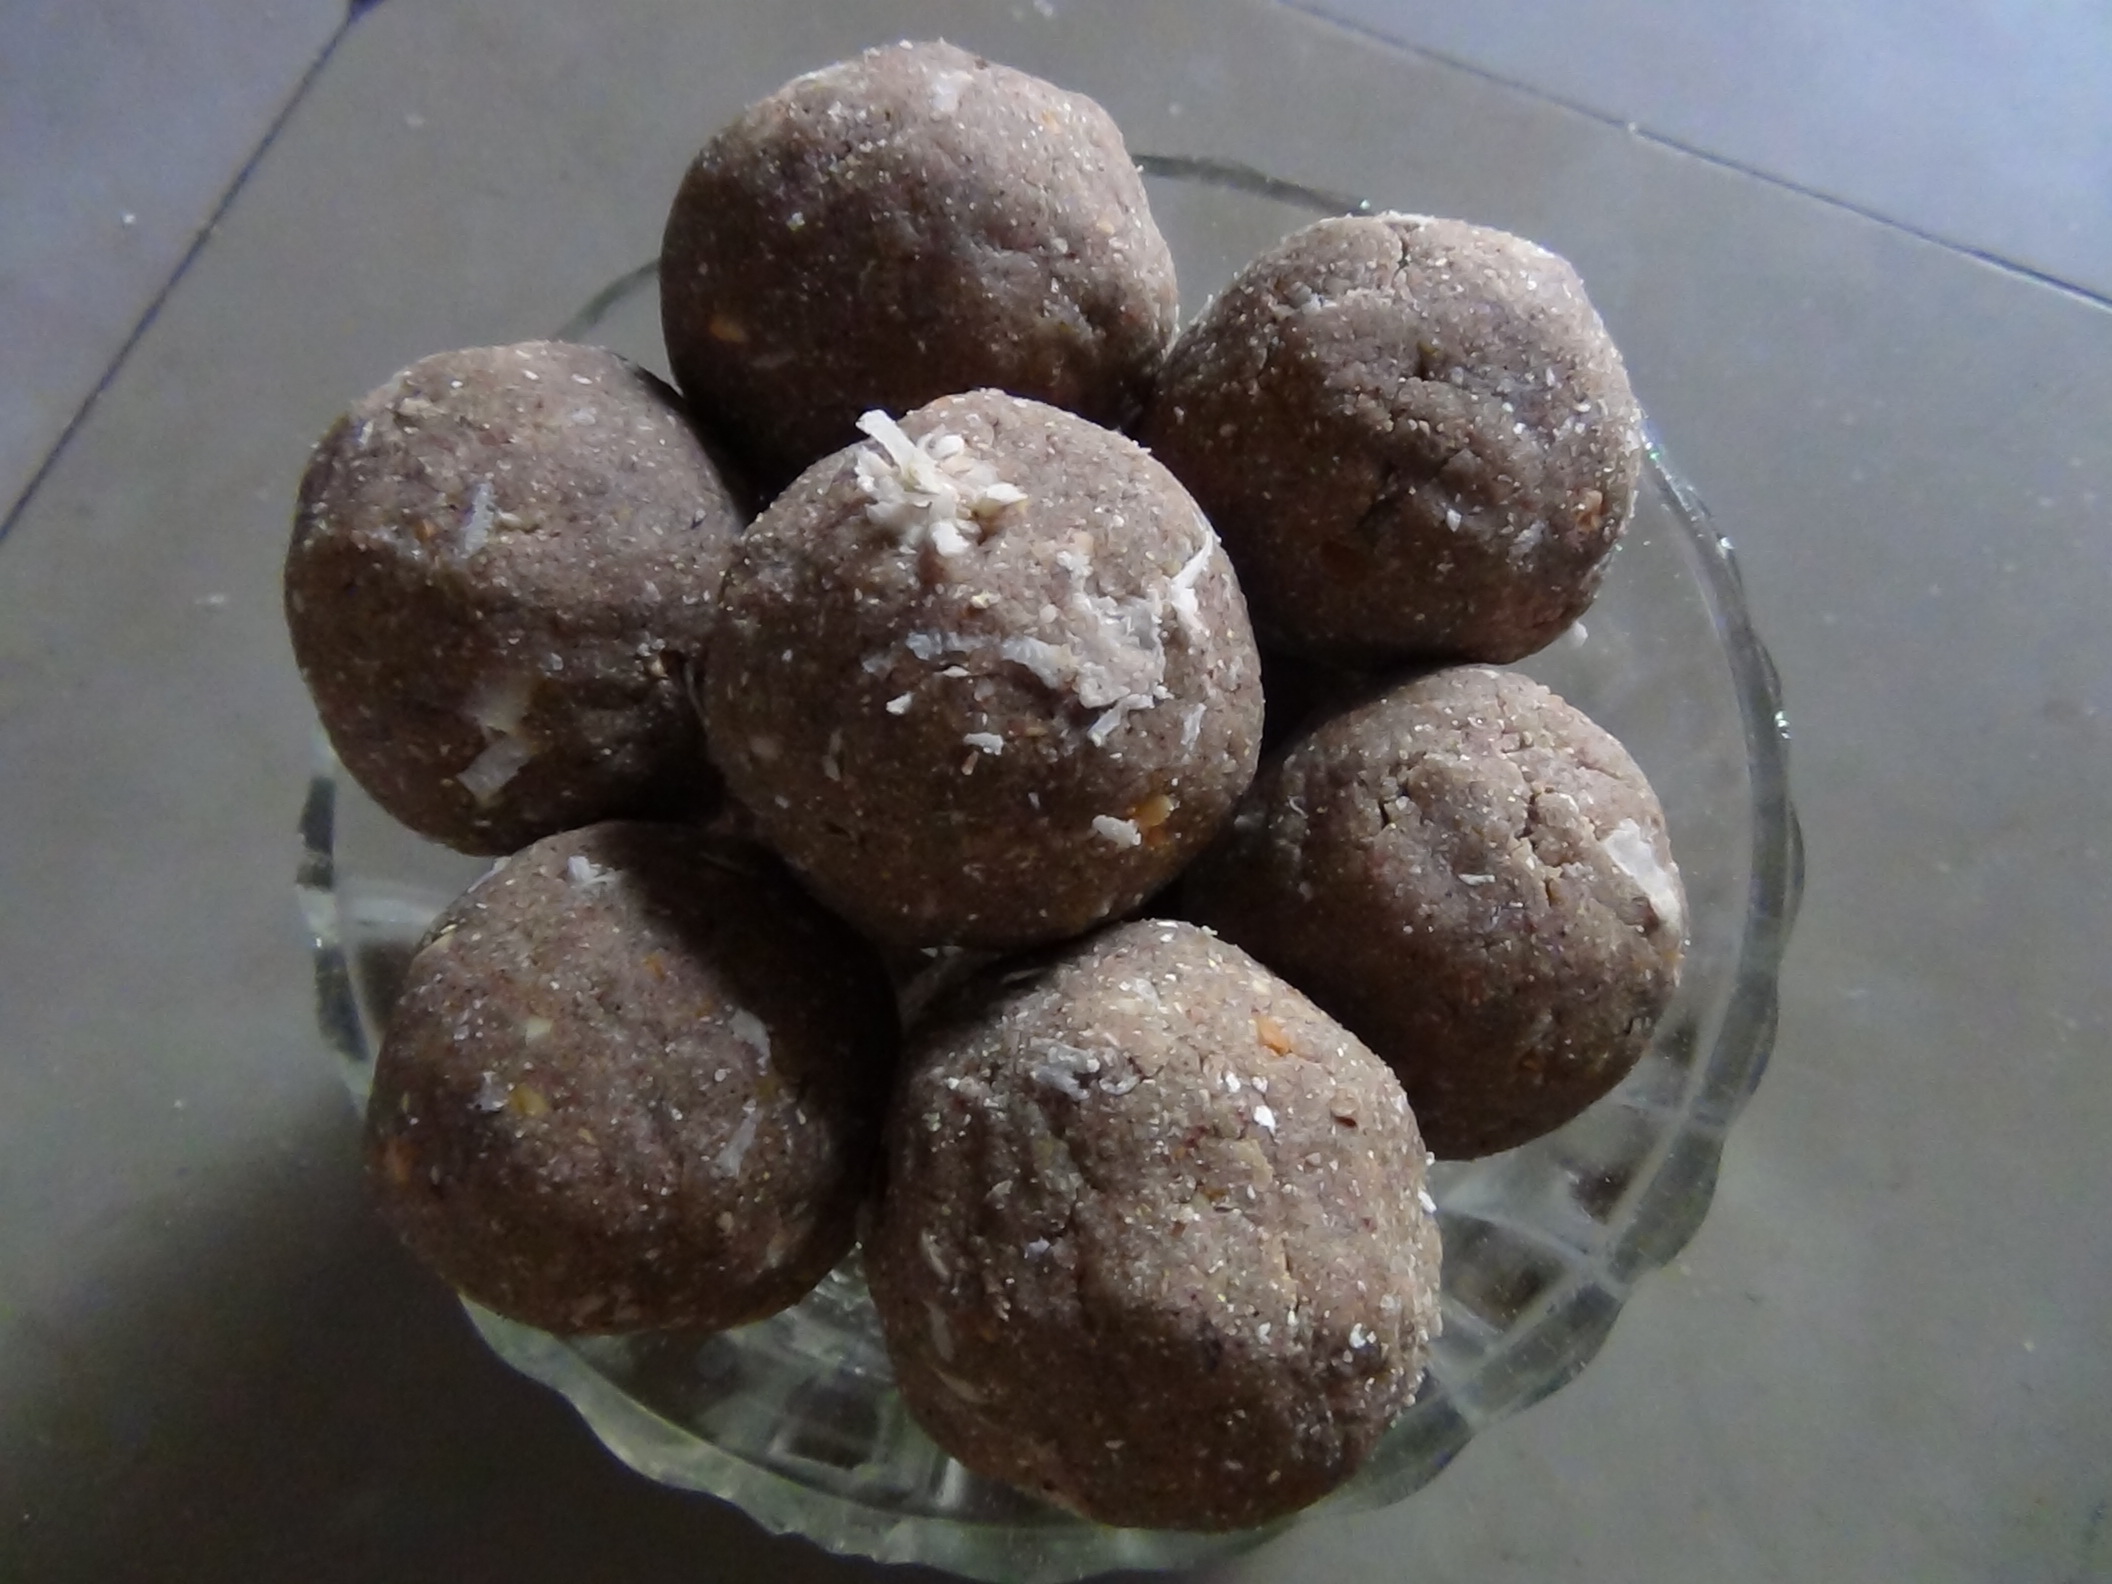
viii) SABUDANA LADOO (LADOO MADE OF TAPIOCA PEARLS)
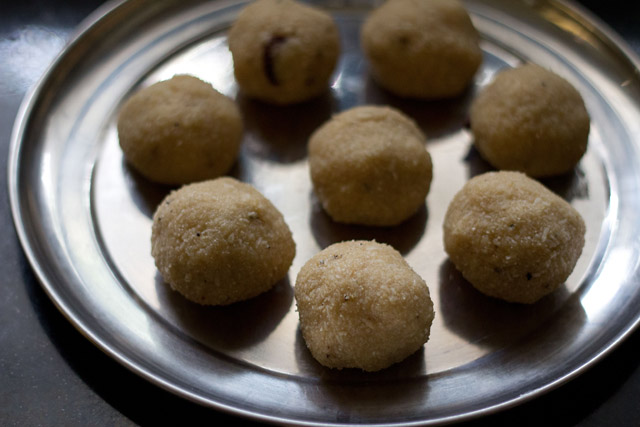
Preparation time: 45 min
Ingredients:
Tapioca pearls- 200 g
Grated coconut- ½ cup
Powdered sugar- 30 g
Ghee/ oil- 1 tsp
Chopped cashews- 4
Cardamom powder- ¼ tsp
Nutmeg (crushed) – 1
Preparation:
1) Roast tapioca pearls in a pan in low flame. This takes about 20 to 30 min.
2) Remove the pearls from the pan when it reaches a golden color. Now keep it aside to cool.
3) Grind it into a fine powder.
4) In another pan, heat the grated coconut.
5) Add the powdered tapioca pearls and powdered sugar to it.
6) Heat oil/ghee in a pan and roast the cashew nuts in it.
7) Now pour this whole mixture to the grated coconut mixture.
8) Also add cardamom powder and nutmeg to it. Mix the contents well.
9) When the mixture is slightly warm, make medium sized ladoos from it.